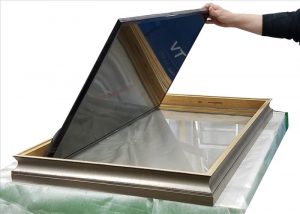
It’s easy to frame your television to make your own custom mirror TV! All you need to do is route out the inside of your frame to match the bezel of your TV. In the instructions below, we take you step-by-step through all the details.
Tools List
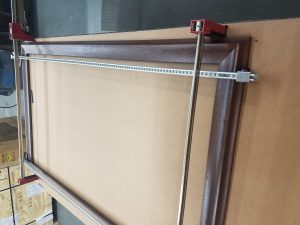
- ? Rubberized Clamps – To hold frame during gluing
- Tape Measure
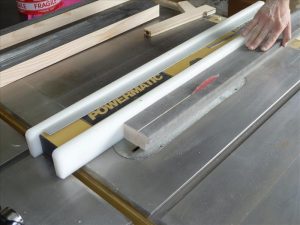
- Table Saw & Fine Toothed Framing Table Saw Blade
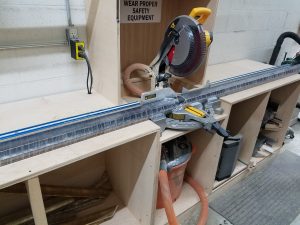
- Chop Saw & Fine Toothed Framing Chop Saw Blade
STEP 1 – MEASURE & CUT
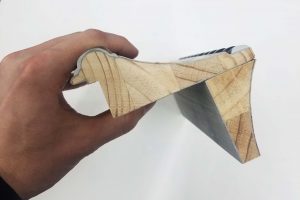
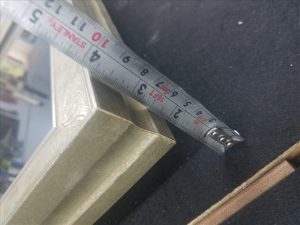
Measure and cut your frame sticks four inches larger than the overall size. For example, if the overall dimensions are 43″ x 27″ cut two frame sticks at 47″ and two frame sticks at 31″.
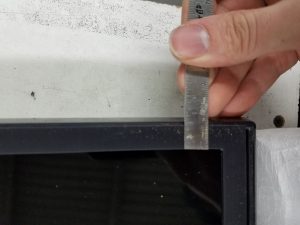
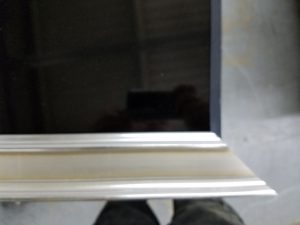
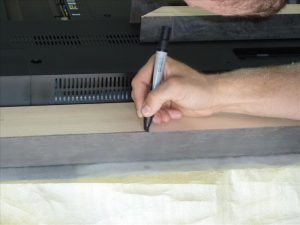
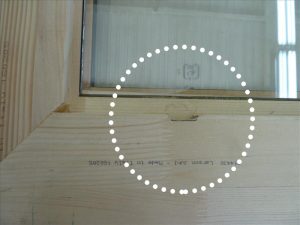
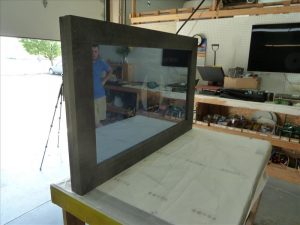
Calculate the outside measurements of the frame sticks. You can do this by adding the frame width (times 2!) to the view able area of the TV. Cut your 45 degree angles. Test your cuts on the view able area of the television like in the image above.
STEP 2 -JOINING YOUR FRAME
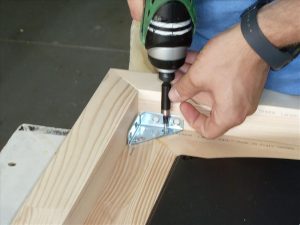
For a tighter more seamless bond prop up the end of the long stick to bring the corners of the frame together. You can do so with a rubber shim.
STEP 3 – THE BACKBUILD
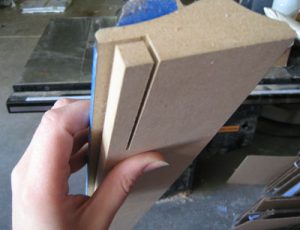
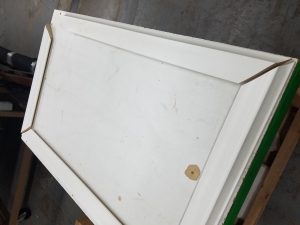
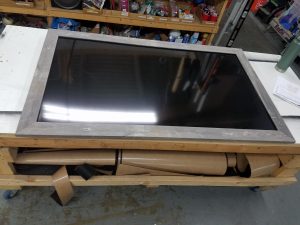
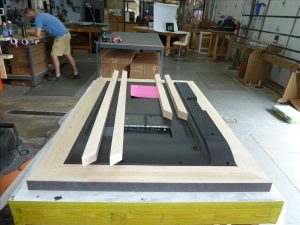
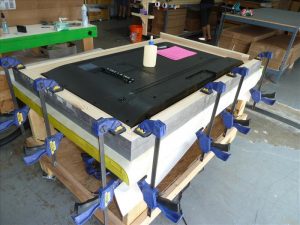
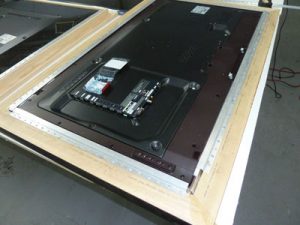
Here is an example of the back build we are going to create. We make this by cutting four more sticks and gluing them to the back of the frame. We completely encase the television in frame material to hide it.
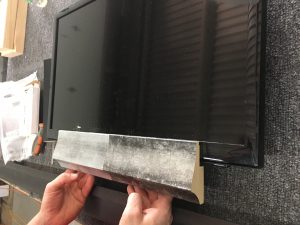
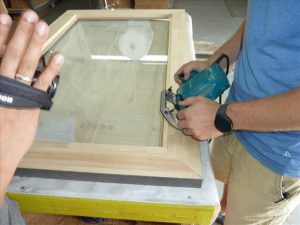
First test the front of your frame on top of your television. Adjust the frame with a hand held router if it does not fit.
Lay the frame face down and measure the size mirror you will need. Cut and place the mirror within the frame.
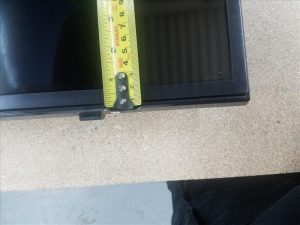
Now we need to figure out the thickness of the back build. You will want the back of the television flush with the back of the frame. Measure that distance and make the cut.
Once you have all four sticks cut, take them to the chop saw to cut the forty five degree angles. The size of the sticks should be 1/16″ on each stick than the front four.
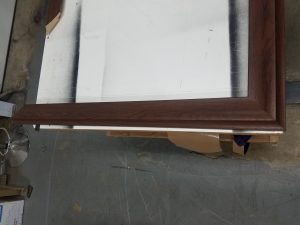
Add on any last minute touch ups that will blend the two sticks together. Then glue the backbuild on. For example we are using a grey furniture marker in the image above.
STEP 4 – THE IR SYSTEM & Z-BAR HANGERS
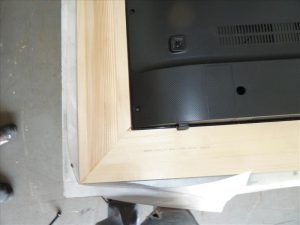
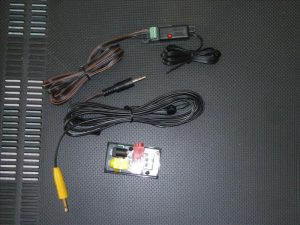
Find the IR sensor on your television. Some will be internal and some external. For this guide we are going to show you how account for a sensor located on the outside of the television.
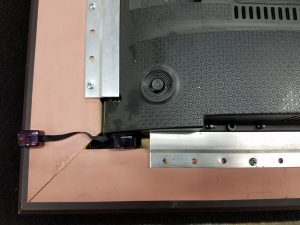
Measure the amount of space needed to create an empty pocket for your sensor to fit. We are using a router.
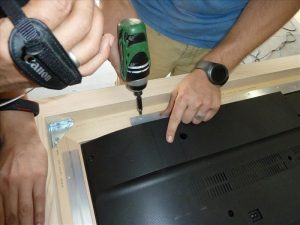
Depending on the thickness of your TV and Frame will be the size needed for your z bars. You can order them from us or from this site here.
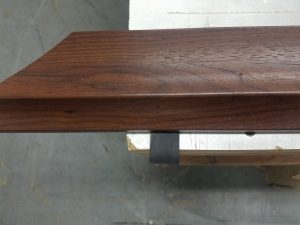
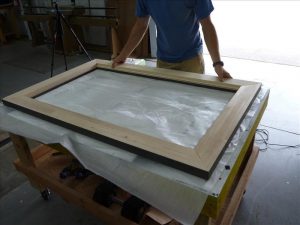
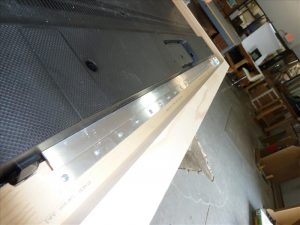
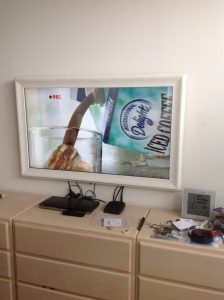
Image with all sides using the z bars. This television fit flush within the thick frame. It did not need the extra four sticks for the back build.


